A recipe from way back when
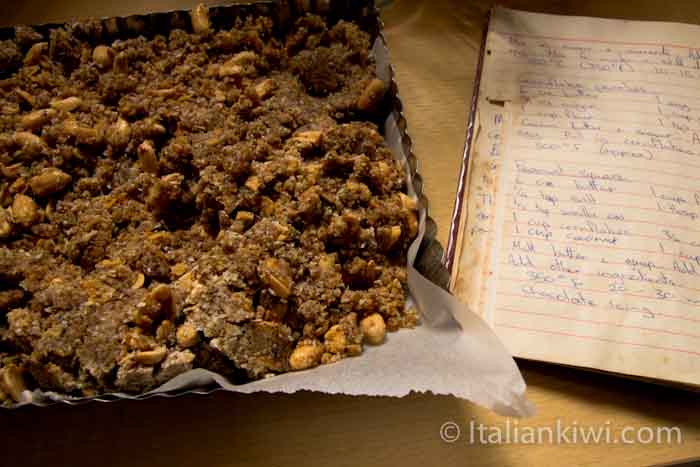
This recipe for peanut square is an childhood favourite of mine from New Zealand. My mother used to make it regularly. She modified it from a recipe published in the Women’s Division of Federated Farmers Cookbook. It’s not as posh as it sounds. It was an important way for women in the isolated country areas of New Zealand to join together and have some support, which I think meant that they made lots of jam and scones, and wrote this cookbook, well at least back in the 1950’s and ’60’s. I love the cookbook as it dates back to the early part of last Century, therefore has all sorts of arcane sections, like the one for “Savory Gelatine Dishes”. Unfortunately, the copy I have comes from the 80’s, so has been updated to “include the use of electrical appliances“, as it says it the introduction. I’d love to read the recipes for cooking things on open fires! Next time I head down to the farm in New Zealand, I’ll have to dig around to see if my mother still has one of the older editions.
Musings about coconut in New Zealand
Peanut square has dried coconut in it, just like many other sweet recipes from this time in New Zealand, such as mothballs and chocolate crackles. This has always surprised me that dried coconut shows up everywhere, as it isn’t warm enough for coconut palms to grow in New Zealand. My guess is that it was used so much because it keeps forever once dried, so was an easy product to have on hand. Plus, the Polynesian Islands aren’t that far away and they DO have coconuts. I imagine the boats from England may have stopped there on the way down to the ends of the Earth to gather more food for the passengers, and brought dried coconut with them. On a tangent: can you imagine if you lived a Century or so ago, jumping on a ship in England to travel for months and months all the way down to a place that you’d never seen? It must’ve been like it would be to move to the moon these days!
It’s all about the ratio of ingredients
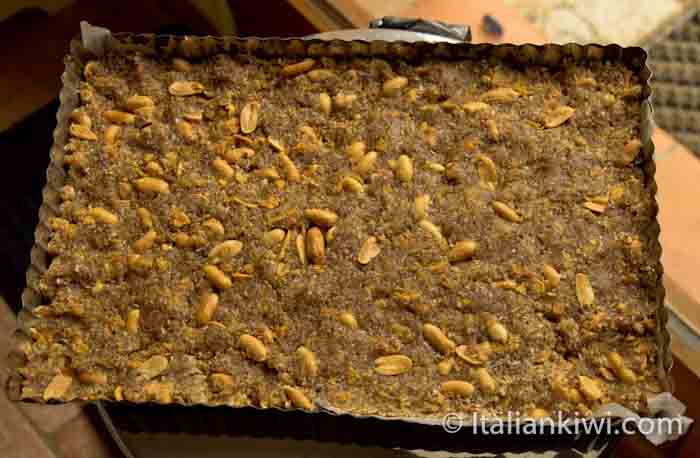
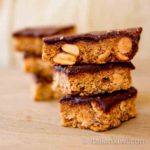
You can use peanuts with the skin on or without for making peanut square. I don’t think it makes that much difference. I used peanuts without skin as that’s what I had in the cupboard. In the recipe, it says to chop the peanuts roughly. I didn’t actually do that either, as you can see by the photo above, but it worked fine! Remember that this recipe was originally with everything as a ratio, so if you use any kind of teacup to measure the ingredients, it will work fine. For the those of you who are determined to bake with measurements, I have quantified everything. 🙂
Not so much a travel photo of the week
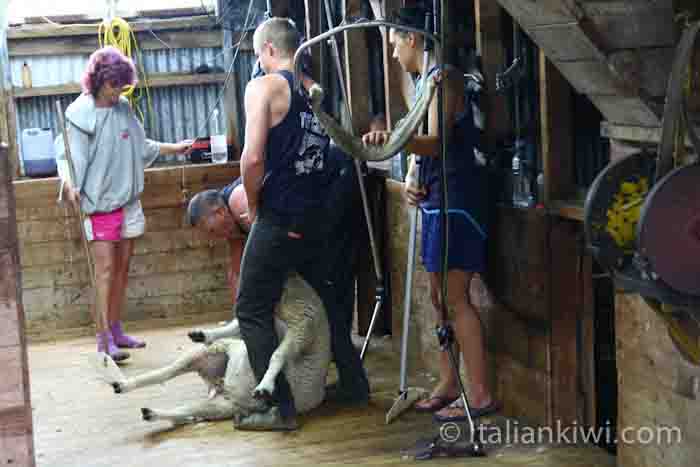
I’ll leave you with a photo that’s a little different. It’s not exactly a travel photo of a beautiful landscape, but is a very typical photo of a New Zealand shearing shed in action. This is taken in my parent’s shearing shed. I know every knot in the wood there as I spent many hours sweeping and picking up wool there. I’m very happy to hand my broom to the guys in the photo. The work is hard, and in this shed, there’s no electricity, only a generator to run the machinery, so you can’t here anything but the buzzing of the cutters and the thumping of the generator all day. I really admire the shearers and shed-hands (the people who sweep and sort the wool)!
By Lisa Watson
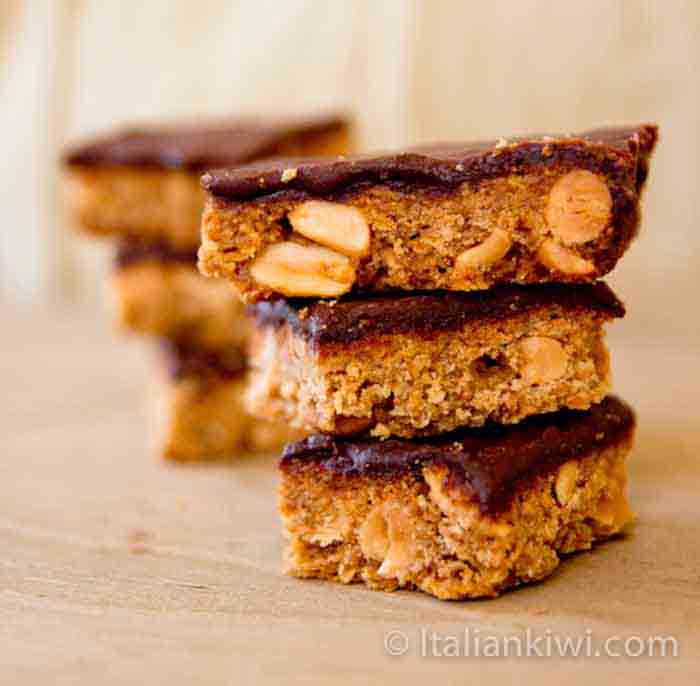
Peanut, Coconut, and Chocolate Slice
Ingredients
For the Slice:
- 125 g Flour 1 cup
- 200 g Brown sugar 1 cup
- 1/4 tsp Salt
- 170 g Butter 6oz
- 1/2 tsp Vanilla essence
- 1 Tbsp Golden syrup
- 90 -100 g Peanuts 3/4 cup
- 100 g Dried coconut 1 cup
- 30 g Cornflakes 1 cup
For the Icing
- 260 g Icing sugar 2 cups + 2 Tbsp
- 80 ml Boiling water 1/3 cup
- 2 Tbsp Cocoa powder
- 1 Tbsp melted Butter
Instructions
For the Slice:
- Roughly chop the peanuts. Slightly crush the cornflakes.
- Mix the dry ingredients together.
- Melt the butter and mix in the golden syrup and vanilla essence.
- Add the wet ingredients to the dry ingredients and mix.
- Press into a rectangular or square tart tin that has been greased with butter.
- Bake at 180ºC (350ºF) for 25 – 30 minutes until golden brown.
- Leave to cool in the tin before icing the slice with chocolate icing.
For the Icing:
- Add the cocoa powder and butter to the boiled water and stir until dissolved. If they butter doesn’t melt completely, put the mixture in the microwave for a few seconds or on the stove-top.
- Add the icing sugar and whisk until you have a smooth, runny mixture.
- Pour onto the biscuit base and leave to set.
- When set, you can cut the slice into squares or bars. It keeps well for 2 -3 weeks in a closed container.
